We got a great, huge, beautiful Pumpkin this weekend and just HAD to play with it!
Ok.. Just kidding.. But if you get the chance.. These Are Amazing...
There it is!
Talk about huge!
Stupid Walmart had a mad sale. I just couldn't walk by and NOT pick the biggest one there!
And Oh did I have plans for this sucker!!!
I'll share with you the first leg of this beauts journey.
I had read recently on a blog (I'm kicking myself for not getting the name :( )
that the easiest way to carve a pumpkin was to remove the bottom.
Yup.
NOT the top.
Removing the bottom ensured that when you placed the candles in, they would be on a steady surface. WAY easier to light.. Just light the candles then place the pumpkin on top..
I was skeptical.
But, she promised no nasty arms to clean up from all the digging around in there, and let's face it.. Pumpkin Arm is a real thing.
But this totally worked!!!
I plopped it down in my kitchen sink and took my big ol knife to it. So easy.
The hole was big enough for me to get all the gunk out and not have one single stringy gut on my arms!!!
I had tons of seeds and hardly any stringy stuff...
This is what it looked like when I stood it up..
You can see my not-so-pretty "F" written on it. Last name Foord.. Decided why not. I don't do scary junk. Halloween is not my favorite, so I decided to go ahead and make this more Fall-Feeling.
Toothpicks.
Jam those babies in as far as you can get.. and as many as it takes. Then snip them with scissors.
My sad little F. I'm no artist..
So off we went outside armed with a plate, the pumpkin, three tealights and a lighter.
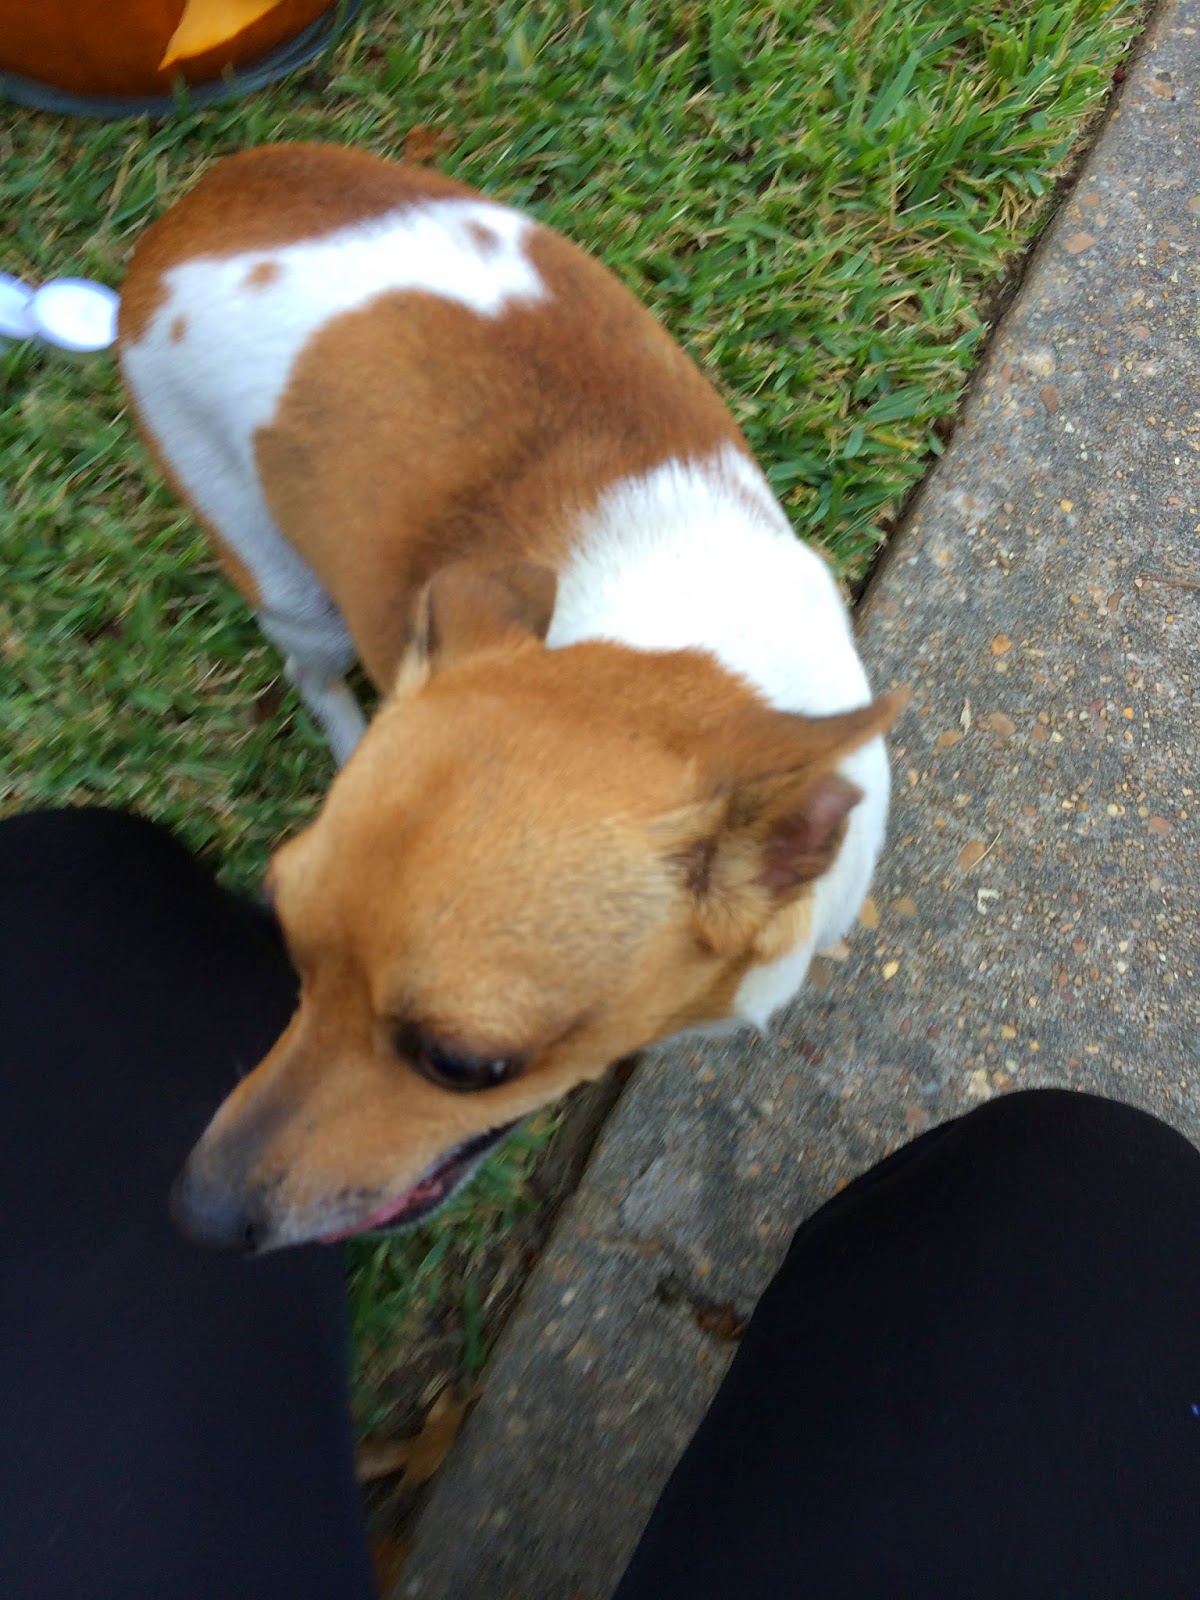
We made a friend...
We still don't know who this is.. But she was super sweet and Kenny fell in love.
I placed the pumpkin on the plate to make sure it was a perfect fit.
Then I lifted it up and put placed the candles on the plate.
Don't try to light them in the wind. It doesn't work.
Got them lit eventually, and placed the pumpkin on top.
There you have it!!!
My first ever carved pumpkin :)
I just couldn't let the innards go to waste..
Stay tuned to see what we made!!!
See you tomorrow!!!


Wow, for being your first carved pumpkin I think it's amazing! And how cool to carve an initial, I really like that idea.
ReplyDeleteA bit off topic, but have you tried the Birthday Cake Oreos?? They are amazing. I will have to try the pumpkin oreos while waiting for our pumpkin seeds to bake, haha.
ReplyDeleteHeck yea I have! Actually they were the first cookie Kenny ever tasted! Lol
DeleteI think I'm gonna have to try this new carving on the bottom thing. Who would have thought? :-)
ReplyDeleteYour pumpkin looks great! That dog looks a lot like mine! Super cute bubs too:)
ReplyDeleteYou did a great job! I love pumpkin seeds.
ReplyDeleteWhat a cute Pumpkin. It is very unique.
ReplyDeleteThat is so cute, I haven't carved a pumpkin in years. I always let the kids use those little carving kits. I want to do one this year. By. Myself. Lol.
ReplyDeleteWhy didnt I ever think of using toothpicks when I screwed up my pumpkin! Thanks!
ReplyDeleteRight??! Well, Necessity is the mother of invention!!! (stolen from Plato!) But. Yea. I was freaked because I only had one pumpkin and I knew it was going in the blog.. Find of hard to turn it into something else at that point!!!
DeleteThanks for reading!
The pumpkin lamp looks really good! Maybe I should try doing one myself too :)
ReplyDeleteYou did a great job with the pumpkin.
ReplyDeleteI'll follow these steps for my Halloween pumpkin.
ReplyDeleteWow! What an awesome looking pumpkin! I cannot wait to carve pumpkins this year!
ReplyDeleteI love pumpkin seeds, they are my favorite part of carving pumpkins.
ReplyDeleteYour Carved Pumpkin looks so beautiful and unique. The baby looks so cute! I love pumpkin seeds as it has many health benefits too. Really a different idea.
ReplyDelete